So, how do you understand the obsession with custom keyboards? Honestly, I didn’t really get it at first either. I used to think a keyboard was just… a keyboard.
You press keys, stuff happens, end of story. But once I fell into the rabbit hole of mechanical switches, artisan keycaps, and custom layouts, there was no turning back.
Building my dream custom keyboard in 2025 has been one of the most fun, creative, and surprisingly emotional tech projects I’ve ever done—and now I want to walk you through every juicy detail so you can build yours too.
The Inspiration Behind My Build 🧠
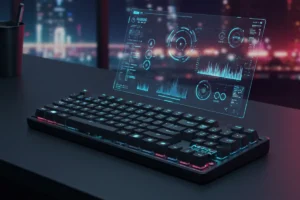
It all started late at night (classic me), scrolling through Reddit and stumbling on a post of a neon-lit, translucent keyboard that looked straight out of a sci-fi movie.
I thought, “Why does mine look so… boring?” That’s when I knew—I was going custom.
I wanted a keyboard that wasn’t just good for gaming or typing, but one that screamed me. It had to be quiet, tactile, vibrant, and perfectly tailored for my workflow.
Plus, I’m always gaming and writing on the side, so I needed it to be functional across all fronts.
After reading tons of forums, watching YouTube builds, and stalking custom keyboard Instagram accounts, I finally figured out what I needed.
If you’re starting from scratch like I did, I recommend checking out this article from my blog Keyboards Technology to help match your keyboard to your use case.
Step 1: Choosing the Perfect Case 🧱
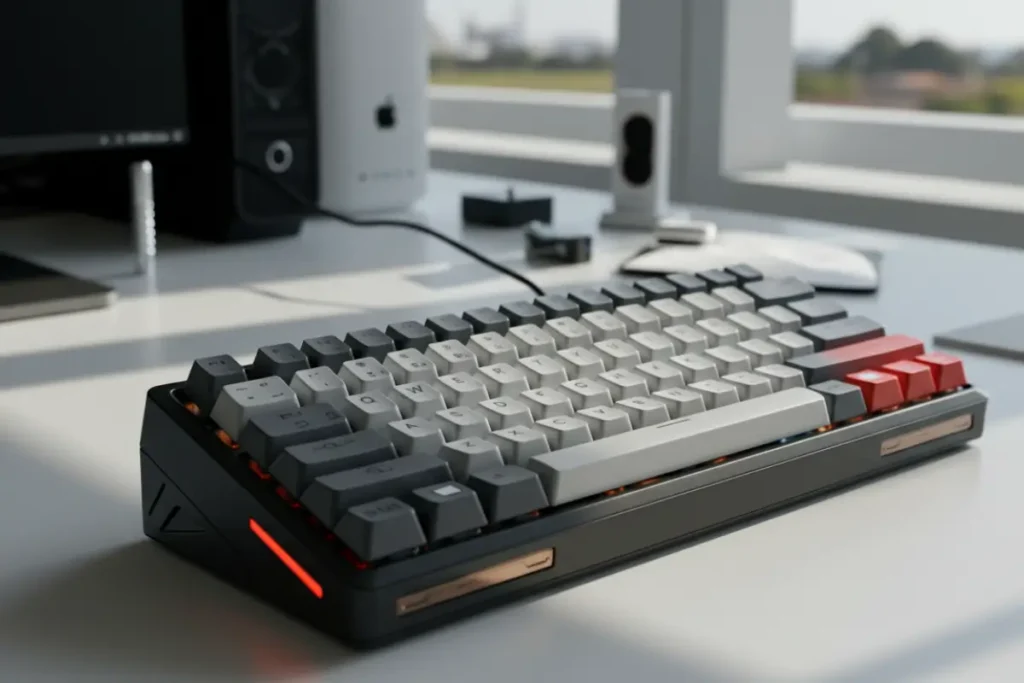
The case is the heart of your keyboard—it holds everything together and sets the vibe. I picked a 75% aluminum case with a frosted acrylic bottom.
Why? Because it’s compact but not cramped, and the weight gives it that premium feel.
If you’re into something minimalist and portable, maybe check out a 60% layout. On the other hand, if you’re someone who uses the numpad a lot (shoutout to my spreadsheet lovers), go for a full-size.
And let’s not forget about gasket mounting—I wanted a soft, cushioned feel when I typed, so that was a must.
Here are some popular case options I almost chose:
- Tofu65 Aluminum Case – Sleek and reliable
- NK65 Entry Edition – Great for beginners
- Keychron Q1 – If you’re after something pre-assembled but modifiable
If you’re unsure about different layouts, definitely check out this guide on the most unique keyboards.
Step 2: Selecting My Favorite Switches 🔁
This was the hardest part, no cap. There are so many switches out there—linear, tactile, clicky, silent, optical. I tested everything I could get my hands on, from Cherry MX Browns to Gateron Yellows.
In the end, I went with Durock T1 Tactile Switches. They’re super smooth, with just the right bump—not too loud, not too soft. Typing feels like slicing through warm butter.
If you’re a gamer or fast typist, I strongly recommend checking out this deep dive.
Other top-tier switches in 2025:
- Holy Pandas – For strong tactility
- Gateron Oil Kings – Smooth linears
- Kailh Box Whites – For those clicky fanatics
I believe that trying them in person is the best way to find your match. You don’t pick a favorite ice cream flavor without sampling, right?

Step 3: Finding the Right PCB and Plate ⚙️
Your PCB (Printed Circuit Board) and plate are where the magic happens. I went with a hot-swappable PCB because I like the freedom to change switches without soldering.
My plate was made of polycarbonate for that soft, flexible typing experience.
Choosing your plate material affects sound and feel. Here’s a quick comparison:
| Plate Material | Feel | Sound |
|---|---|---|
| Aluminum | Rigid | Loud & Sharp |
| Polycarbonate | Soft | Muffled |
| Brass | Firm | Deep & Thocky |
| FR4 | Balanced | Clean |
Fun tip: If you want to geek out more on the internals, here’s a great read on how key switches work.
Step 4: Installing Stabilizers and Lubing Everything 🛠️
Stabilizers (or stabs) are what make your bigger keys—like Spacebar, Enter, and Shift—feel smooth. I got Durock V2 stabs and lubed them using Krytox 205g0.
This step was time-consuming, but wow, what a difference.
Lubing switches is basically like giving your keyboard a spa day. Everything feels smoother and quieter. Trust me, it’s worth the effort.
If you’re not sure how to start lubing, there’s a great visual tutorial on Reddit’s r/MechanicalKeyboards you can follow.
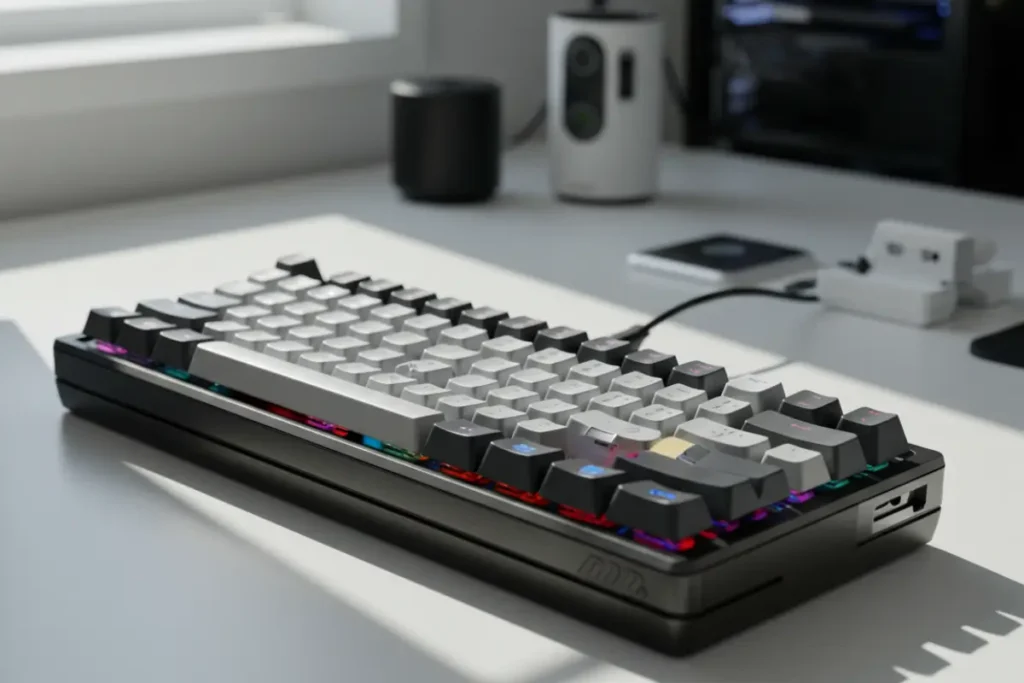
Step 5: Choosing the Perfect Keycaps 🎨
Now here’s where the fun really begins. Keycaps let you show off your personality. I chose a PBT dye-sublimated keycap set in a cyberpunk theme—neon blue and pink with a matte finish. They’re thick, durable, and feel chef’s kiss.
Other cool keycap themes I love:
- Retro Beige – Clean, classic, and minimal
- Artisan Spacebars – Perfect for single-key flair
- Transparent RGB Sets – If you love glowing setups
Still curious? Check out why keyboard enthusiasts love artisan keycaps.
Final Assembly and First Type Test 💡
Once all parts were lubed and ready, I started assembling. The switches snapped into the PCB, the stabs clicked into place, and the keycaps popped on top. Then came the big moment: the first type test.
Oh man… it sounded like thunder and silk had a baby. The sound was deep, soothing, and satisfying. No rattle, no ping. Just pure typing bliss. I wrote this very article using that keyboard.
Wanna know how to build one under $100? Check out this article I wrote too!
See More
- How I Built My Dream Custom Keyboard in 2025 (Step-by-Step Guide)
- Silent Mechanical Keyboards You’ll Love in Quiet Offices (2025 Update)
- The Future of Mechanical Keyboards: What’s Coming After 2025?
Final Thoughts ✨
Building my custom keyboard was more than just a hobby—it was a journey. A journey into design, creativity, and what it means to enjoy something you use every day.
And now, when I type, I feel like I’m using something that’s truly mine.
I genuinely believe everyone should build at least one custom keyboard in their life. It changes how you see tech. And if you’ve made it this far, I’d love to know—what would your dream keyboard look like?
👇 Comment below what kind of setup you’re building or using right now!
🧠 Want more cool keyboard guides and stories? Browse my blog and don’t miss my other favorites like:
- The Future of Foldable and Flexible Keyboards
- The Best RGB Keyboards for a Gamer Setup
- How Mechanical Keyboards Help Reduce Hand Fatigue
👉 And if you’re still curious, this Wikipedia article gives you the entire history of keyboards too!
If you liked this article, don’t forget to share it with your friends!
🎮 Join Our Discord Community!
Are you passionate about keyboards, gaming, and tech? Come hang out with fellow enthusiasts, ask questions, share your setup, and stay updated with our latest content!
👉 Join Now